

Adding a Hard Drive to an Original IBM PC Using a Raspberry Pi
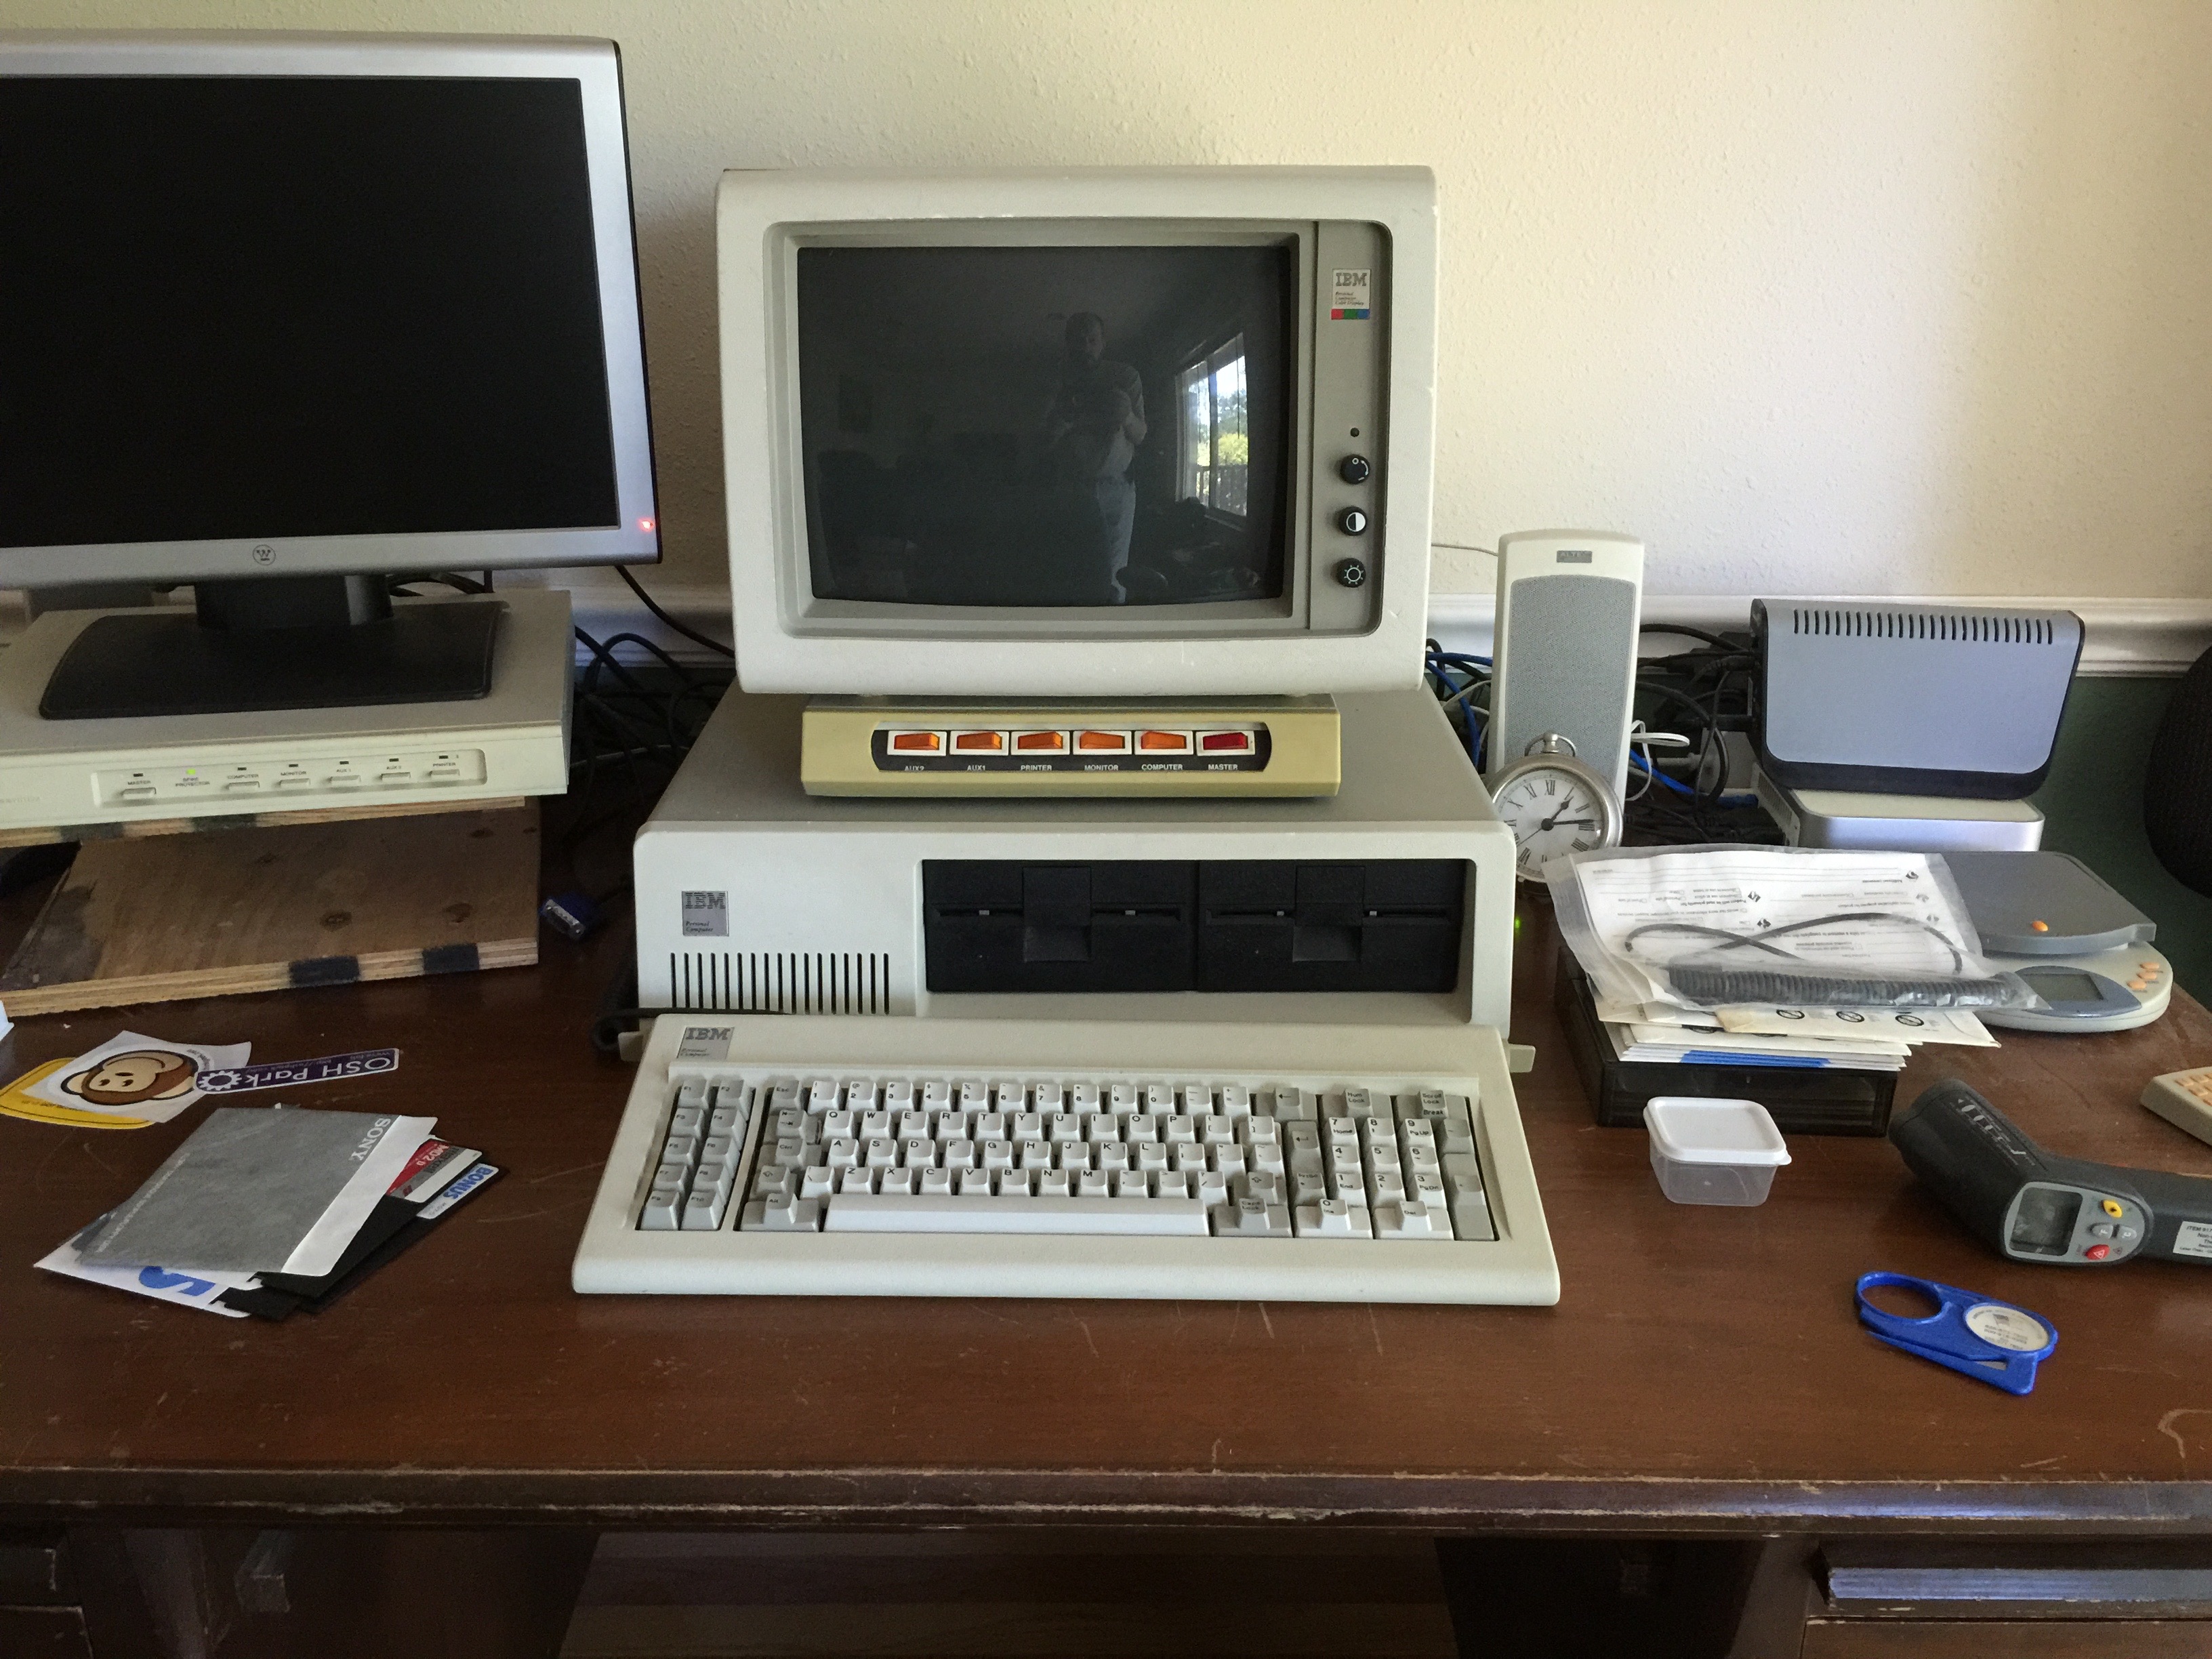 My rev B IBM PC 5150
A couple of months ago I moved my IBM PC into the living room thinking that with a more prominent location I would use it more often. It’s fun to try out ancient software, or use the PC to connect to the occasional surviving BBS. I also like tinkering trying to use the PC to access the modern internet, or at least see if I can. I definitely won't be playing YouTube videos on it, but I can read reddit, or search Google. Because of the nice keyboard and no multitasking I’ve also used it often as a distraction free place to type up blog posts (this one included). And of course I wanted it readily available for playing games. There’s lots and lots of DOS CGA games that I’ve never played before that are calling out to me to try!
My rev B IBM PC 5150
A couple of months ago I moved my IBM PC into the living room thinking that with a more prominent location I would use it more often. It’s fun to try out ancient software, or use the PC to connect to the occasional surviving BBS. I also like tinkering trying to use the PC to access the modern internet, or at least see if I can. I definitely won't be playing YouTube videos on it, but I can read reddit, or search Google. Because of the nice keyboard and no multitasking I’ve also used it often as a distraction free place to type up blog posts (this one included). And of course I wanted it readily available for playing games. There’s lots and lots of DOS CGA games that I’ve never played before that are calling out to me to try!
Well, moving it out to the living room almost worked. I certainly looked at it more often and kept thinking I should use it. The problem was that even though the PC was now in a good location, I didn’t really want to have to mess with putting everything on floppy disks.
My IBM PC only has two 360k floppy drives for storage and doesn't have a hard drive. Adding a Compact Flash or SDCard as a hard drive would be nice, but currently all five of the slots on the PC have something in them. There's the CGA card, the floppy controller, the ethernet card, and an AST SixPakPlus which provides a serial port, parallel port, game port, 384k RAM, and a clock. The AST takes up two slots because of the second bracket with the parallel and game port on it.
XTIDE
Back when the PC and XT were still in use, hard drives used interfaces like MFM, RLL, and ESDI. It’s difficult finding working drives that use those interfaces today and if you do they are quite expensive. Plus the only real reason to want to use one of those ancient drives would be if you already have a matching controller card, which I don’t.
While searching to see how other people have dealt with using modern mass storage on an original PC, I came across an open source project called XTIDE which is both software and hardware which will let you connect IDE hard drives to old computers that only have 8 bit ISA slots. Another interesting feature of the XTIDE firmware is that it is able to use a serial port and an XP host to emulate disk drives!
Doing a little more research I discovered that it is possible to use the serial disk drive emulation without an actual XTIDE card, you just need to put the firmware on a ROM on a card in your system. Ethernet cards often have empty ROM sockets, and the 3Com EtherLink II card I have in my PC was no exception.
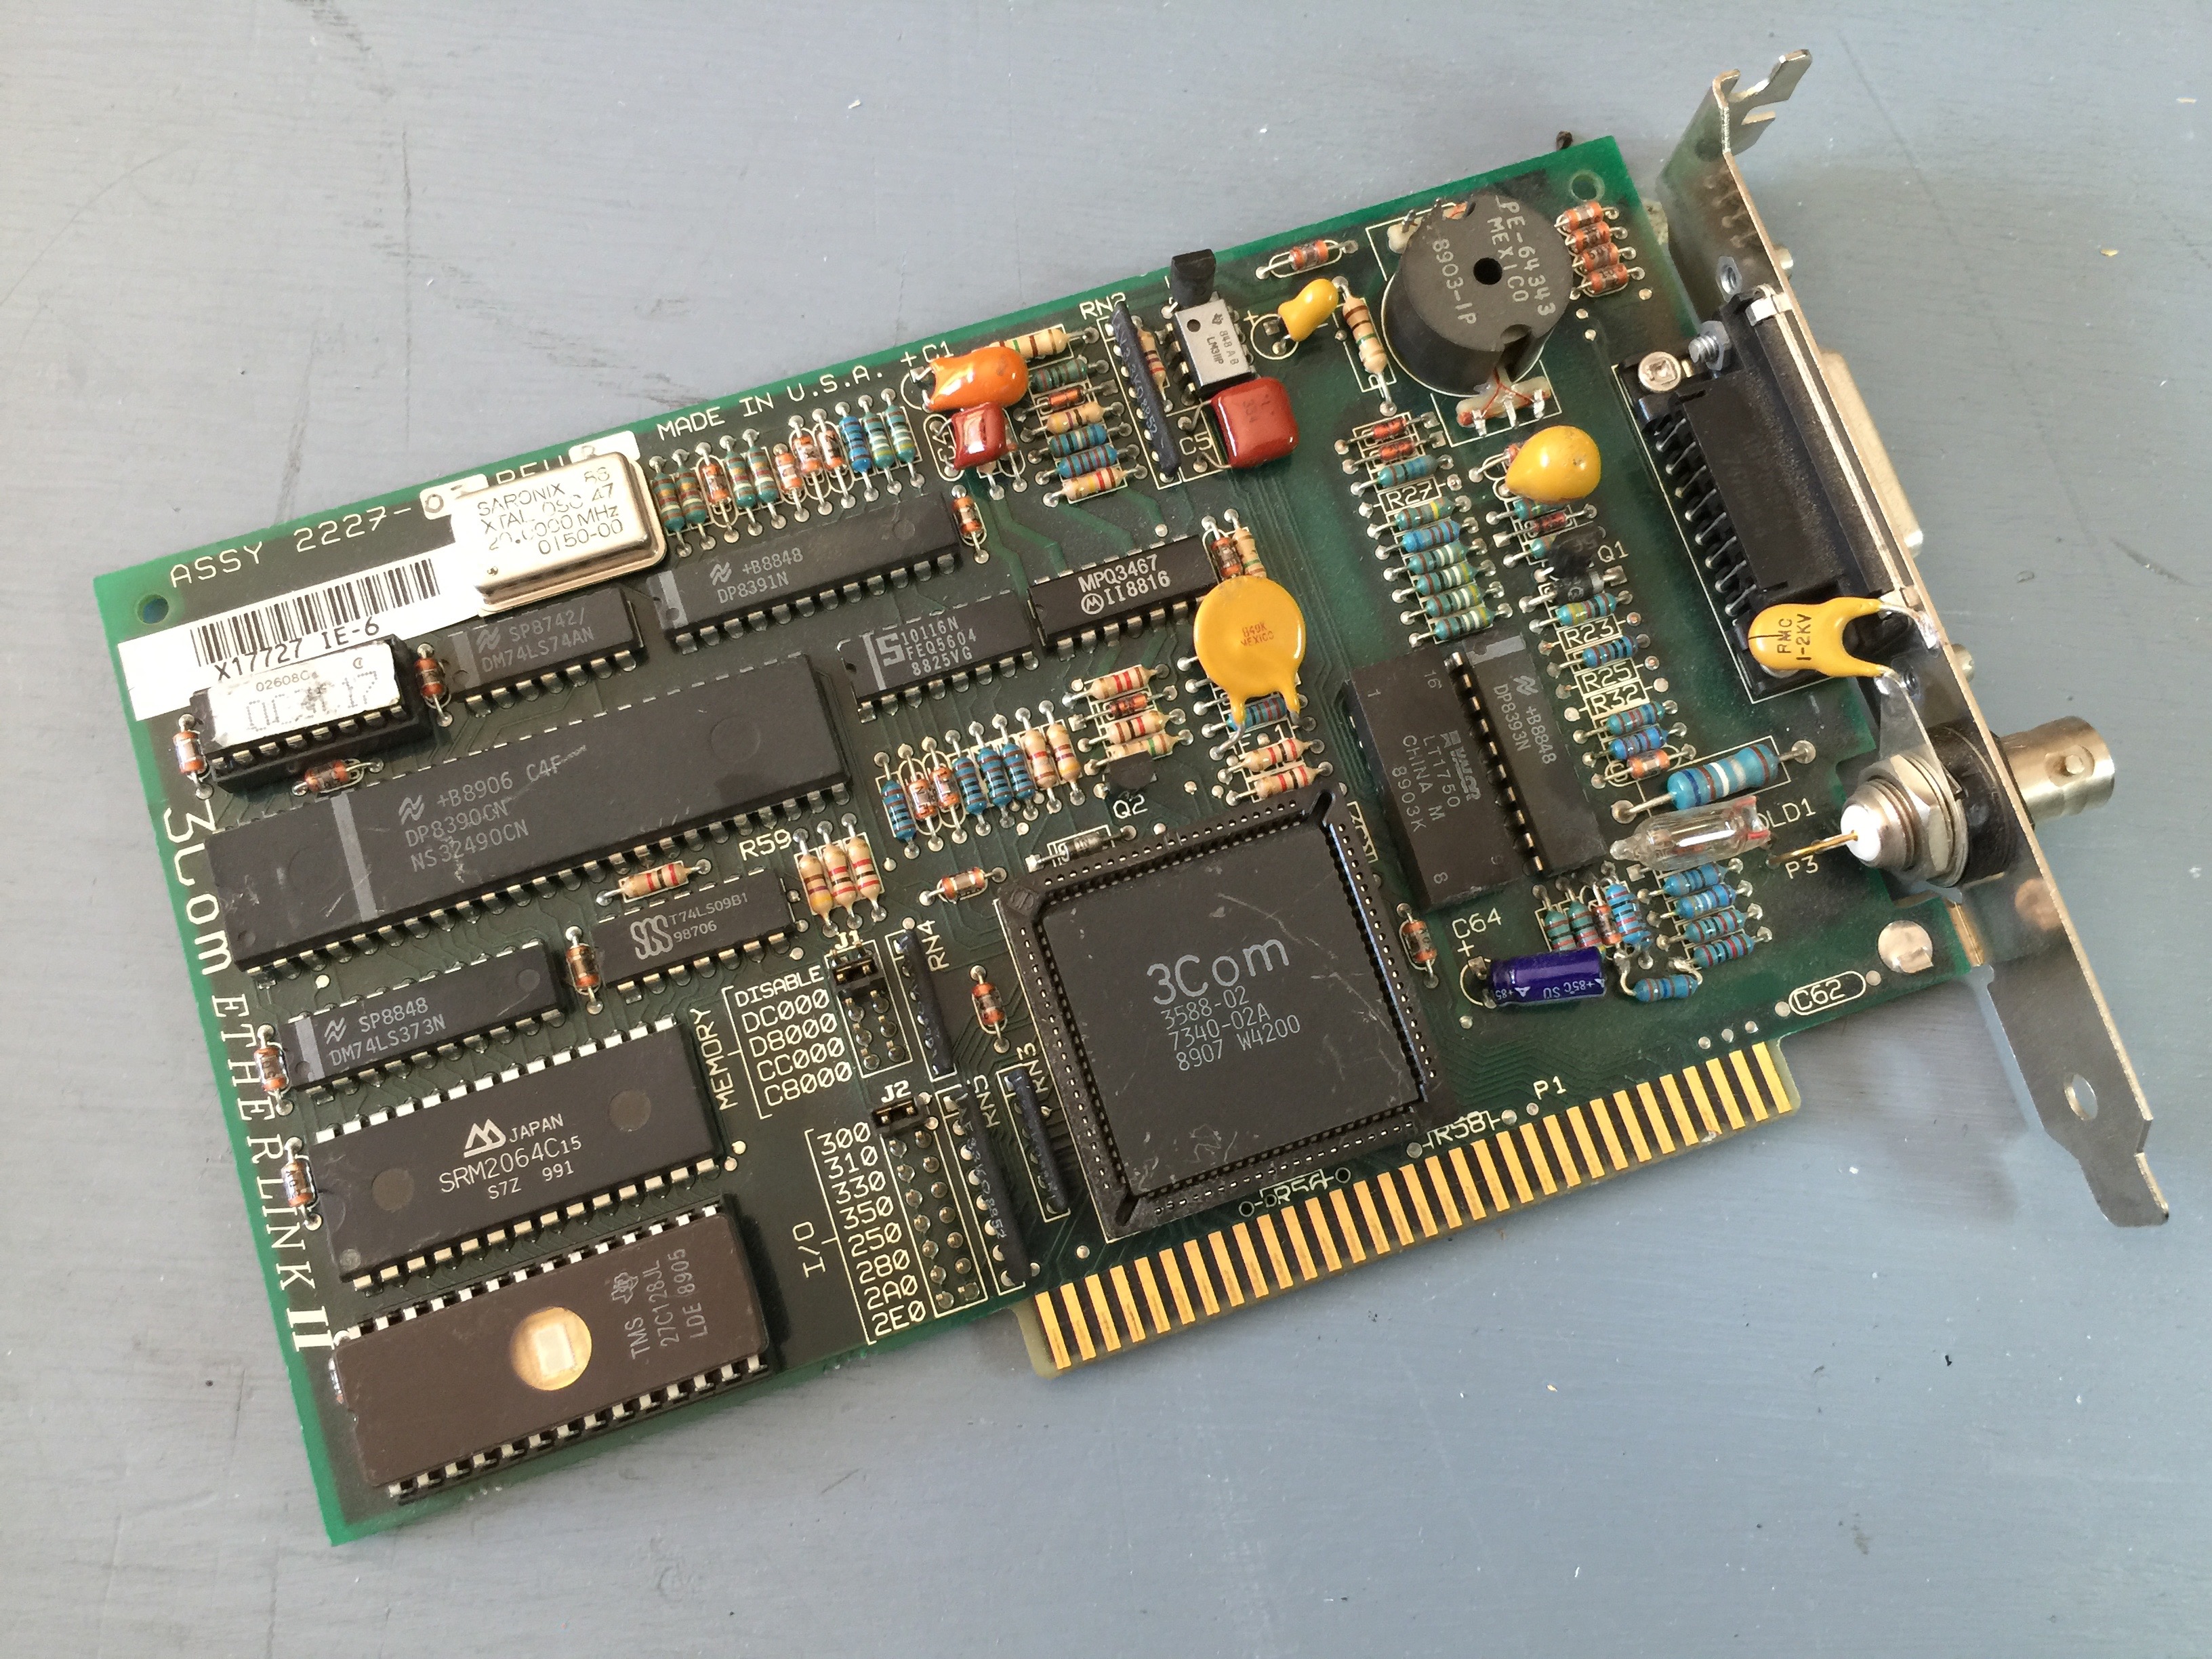 EPROM installed on Ethernet card
The XTIDE firmware is only 8k and only needs a 2764 EPROM. The ROM socket on an EtherLink II however accepts a 27128 which is twice as large. Another idiosyncracy of the EtherLink II is that it substitutes the last two bytes of your ROM with its own values, so you have to move the checksum byte up two bytes so that the PC will be able to verify the ROM as good and use it during boot.
EPROM installed on Ethernet card
The XTIDE firmware is only 8k and only needs a 2764 EPROM. The ROM socket on an EtherLink II however accepts a 27128 which is twice as large. Another idiosyncracy of the EtherLink II is that it substitutes the last two bytes of your ROM with its own values, so you have to move the checksum byte up two bytes so that the PC will be able to verify the ROM as good and use it during boot.
When the PC boots up it sees the XTIDE firmware and executes it†. The XTIDE then takes over the boot process and will scan the COM port to see if there is a special server connected and if so it will mount the disk image over the serial port and boot from it.
Enter the Pi
An emulated disk drive is a great idea, except when you don't have a Windows XP box nearby. Instead of lugging another box into the living room to support the PC, I set about seeing if I could make a Raspberry Pi act as a disk server instead.
I got the source code to the XTIDE Serial Server and started figuring out how it works and how hard porting the code to Linux would be. The first problem with the code was that they had mixed & match the case in the filenames all over the place. It was very inconsistent. It took a little while to hunt down every place where they had the case different and fix it.
The next challenge was figuring out what was really Windows specific and changing it to use standard unix or posix calls. All of the Windows specific stuff was limited to just a couple of files that were dealing with file I/O or serial I/O. Having written plenty of programs that use both kinds of I/O under Linux over the years it didn't take too long to replace all the DOS/Windows calls.
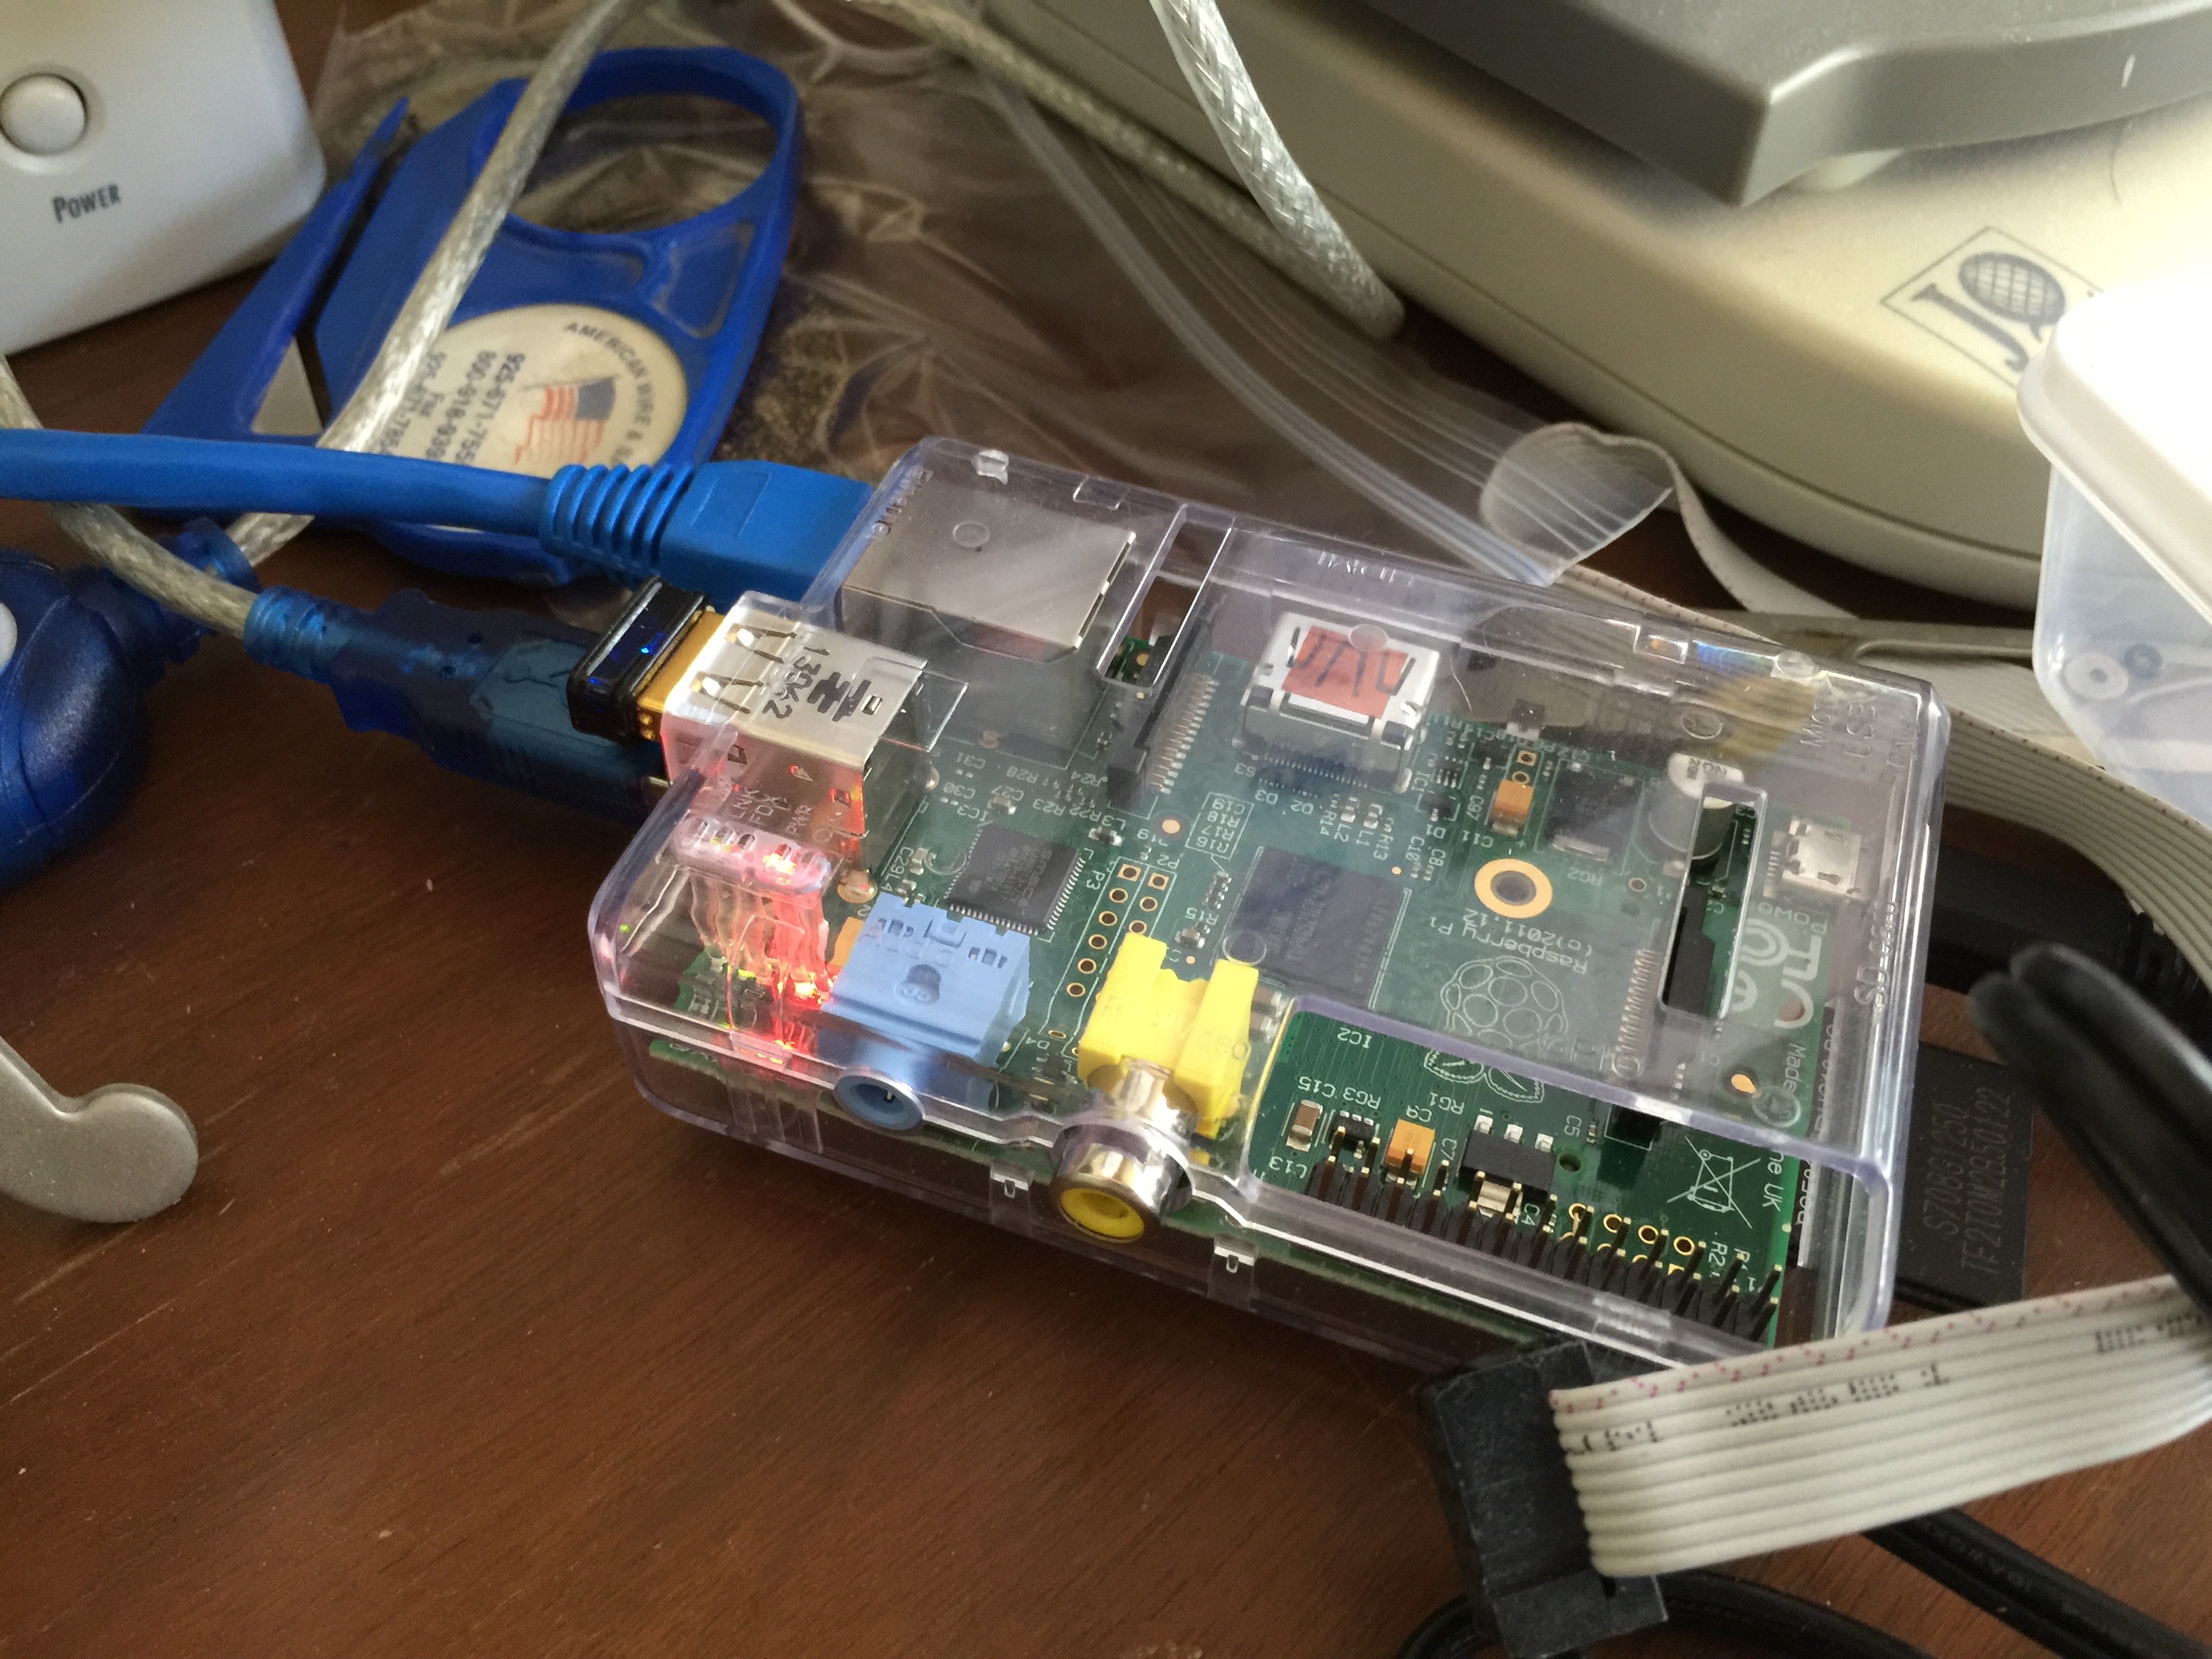 Pi acting as hard drive
To connect the Raspberry Pi to the PC I used a USB serial adapter and a null modem cable. I didn't use the on-board serial on the GPIO because it doesn't have all the flow control lines and would have also needed a level shifter to convert to the higher voltage positive and negative voltages that RS232 uses.
Pi acting as hard drive
To connect the Raspberry Pi to the PC I used a USB serial adapter and a null modem cable. I didn't use the on-board serial on the GPIO because it doesn't have all the flow control lines and would have also needed a level shifter to convert to the higher voltage positive and negative voltages that RS232 uses.
Seeing the PC boot and use the Raspberry Pi as a hard drive was very cool! The only downside is that the maximum speed I can get out of the AST SixPakPlus is 115200. And that's only after I swapped out the original 8250 with a 16550. At that speed the emulated drive is slower than even the floppy drives.
Although the emulated hard drive is slow, it's still nice for playing games. I created a 500MB HD and loaded it up with quite a few games. A lot don't run on my primitive 640k CGA PC, but it's nice to be able to try them out without having to write them to a floppy first!
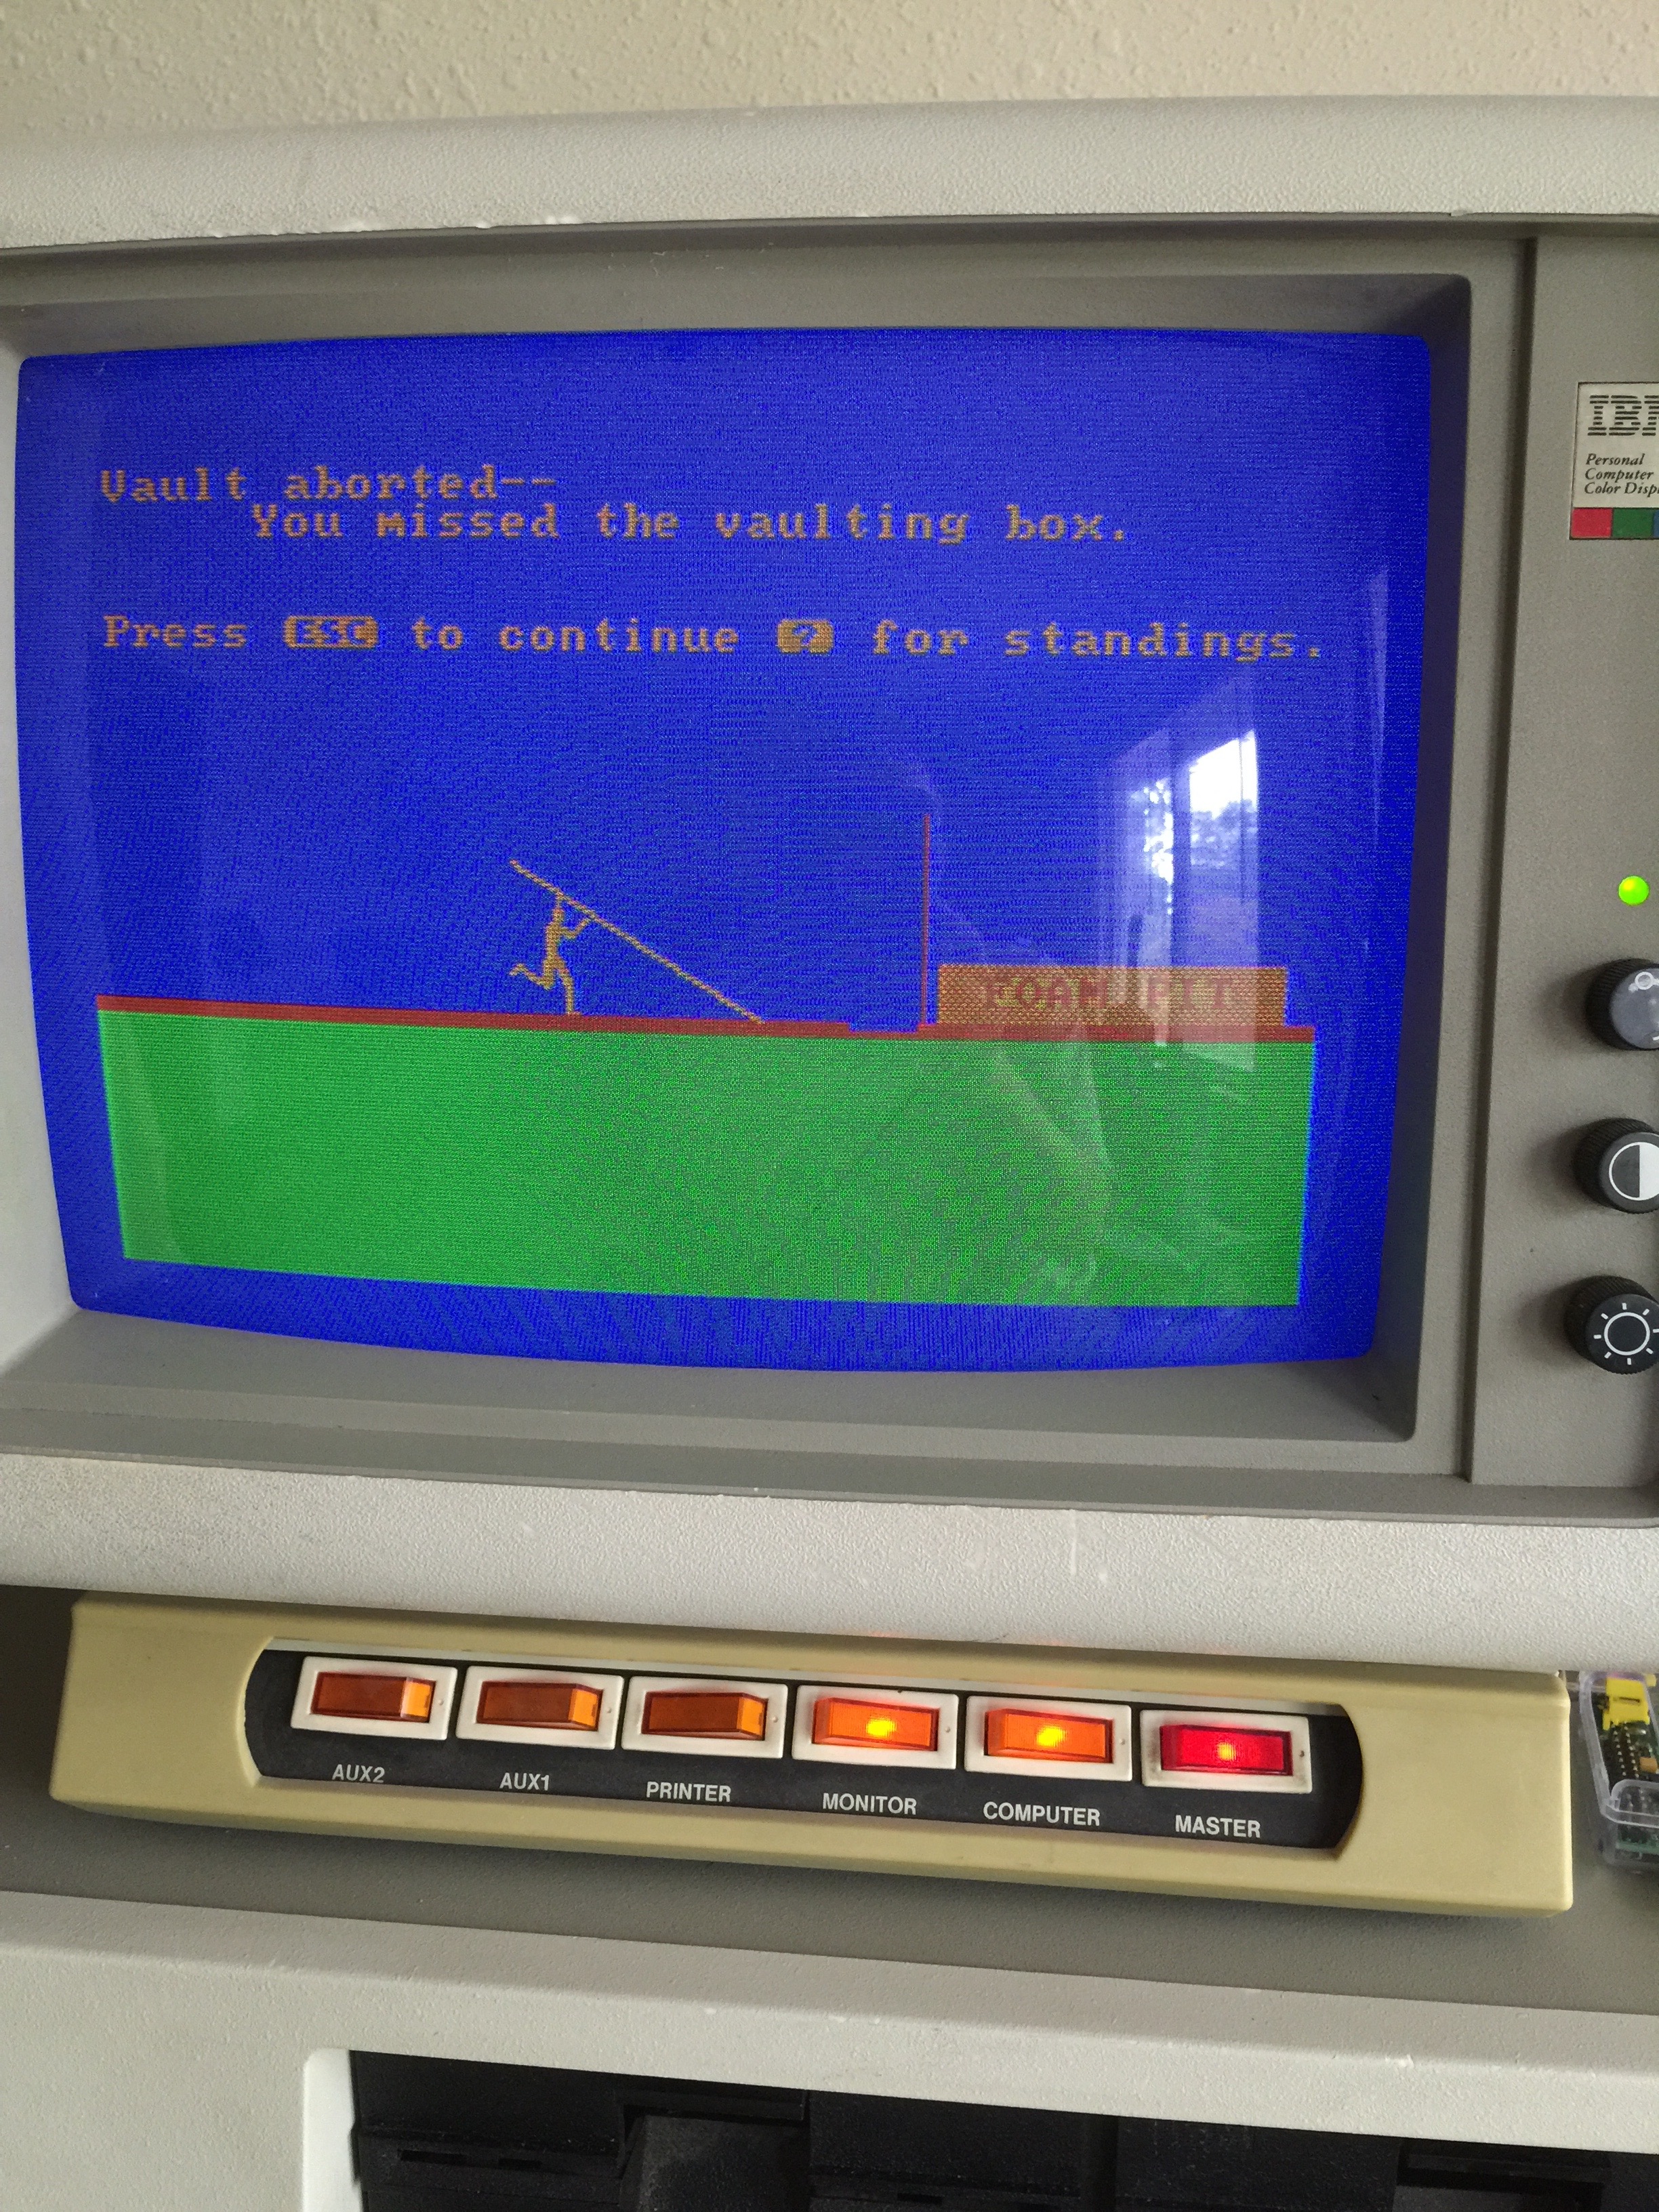 Microsoft Olympic Decathlon
I've posted my changes to the XTIDE Serial Server on github. I didn't bother to try to support named pipes like the original does since I have no need for that feature. I also modified the Makefile to make it work only on Linux and not try to detect what OS you're compiling under.
† The ROM I burned and installed in the ethernet card mostly works. When I first power up the PC most of the time it doesn't see the ROM and boots the floppy. If I reboot immediately then the PC beeps at me complaining that the ROM is corrupted. After the PC has been powered up for 60-90 seconds then the ROM works fine and the XTIDE ROM loads. I'm not sure if the 27128 EPROM or the EtherLink needs a warm-up period or why. I tried two different EtherLink II cards and both behaved the same.
-

-
My rev B IBM PC 5150
-
Every slot is filled
-
EPROM installed on Ethernet card
-
Pi acting as hard drive
-
XTIDE BIOS detecting serial drive
-
Test image formatted
-
Installing MS-DOS 6.22 on a virtual 500MB drive
-
Microsoft Olympic Decathlon
-
Donkey Kong
-
Caverns of Kroz
-
Editing the Serial Server program from the PC


+2 Posted by GLI • May.28.2016 at 23.08 • Reply
Nice job! Similar to the comment about switching to RS-422, although it would require another slot, believe it or not you can still buy new ISA high speed serial ports, such as the StarTech ISA2S550 from Amazon for $27 http://www.amazon.com/StarTech-com-2-Port-Serial-Adapter-ISA2S550/dp/B00006B8C4 You'll get up to 460K. Yes, it is a 16-bit card but works fine in an 8-bit computer, it just can't use the higher level interrupts. I believe the Pi and most modern USB serial adapters can keep up. A stock 4.77 MHz PC using PIO can't handle much faster than this anyway.
+1 Posted by GLI • May.29.2016 at 16.19 • Reply
One other thought, if you are into hardware hacking. Assuming it is on its own, you could replace the SixPackPlus's UART crystal with a 4x crystal. This is effectively what the high speed cards do. They also offer a jumper to control the multiplier from there (1x, 2x, 4x). Everything would work on the serial line as normal and there is no modification to the programming interface, only as a user you would ask for 4x less baud to achieve the same result (if you want 9600, ask for 2400; if you want 1200, ask for 300, etc). Obviously you lose the far lower end of the baud spectrum and serial mice may not work if they expect a particular baud rate.
+1 Posted by Tachyon • Aug.12.2015 at 12.02 • Reply
First let me say that this is a really cool hack. Secondly, the hacker in me just can't let it go at that. I was thinking that if you unhooked the AST's secondary backplate and unscrewed the connectors from the plate, then lightly bent or filed the main AST backplate, you could slied the ribbon cable in through the gap, recovering the wasted ISA slot. Now while you could use that slot for another device like an SD-Card adapter etc, my first choice would be to replace it with an ISA RS-422 adapter. Like the ones Lava sells. These are still driverless COM ports in DOS. Then install a USB<->RS-422 adapter on the RasPi. Now you only have to change COM ports in your code/setup and you can transfer at whatever rates your poor 8088 can handle. RS-422 can go up to 10Mbps so that's the hard upper limit. Whatever the limit turns out to be, I'm sure it will be well above 115k.
+1 Posted by Asbesto • Aug.18.2015 at 21.47 • Reply
Hi there, great project! I'm thinking about an idea - you patched a network card boot rom, so why not use the network directly instead of a COM port? It can be connected to the Raspberry PI, and the transfer can be really fast. Maybe it's more difficult... greeting from "Museo dell'Informatica Funzionante" Computer Museum in Palazzolo Acreide, Sicilia!
+1 Posted by FozzTexx • Aug.18.2015 at 21.51 • Reply
I did not patch the network card boot ROM. Network cards come with empty sockets and no ROM at all. The only thing on the ROM I burned is the XTIDE software.
+1 Posted by ciernioo • Aug.19.2015 at 13.37 • Reply
Hi! I
ve discovered your project while I was searching for a solution to my own, simmilar problem, maybe you could help me. Ive got an PC/XT clone, want to run XT-IDE and also have 3COM etherlink II , but little different model than yours - It uses 2764 EPROM. I`ve burned one with 8K XT-IDE BIOS, but the PC gives me checksum error on boot. It is probably due to those extra bytes the card inserts. Could you please explain me what exactly is going there ? Could I fix somehow the problem, if I have only 2764 EPROM option ?? Thanks! PS: Great job and clever idea of using the raspberry for a drive !+1 Posted by FozzTexx • Aug.19.2015 at 15.50 • Reply
The very last byte is a checksum byte used by the PC to verify that the ROM is good. The Etherlink II overrides the last two bytes of a ROM and replaces them with some other value, so you need to move the checksum byte up by two bytes so that the ROM will checksum correctly.