

The future of the Membrane empire!
After doing a bit of testing, it turns out the only thing wrong with the Radio Shack TRS-80 Color Computer 2 that I got was the keyboard itself. I was able to get some schematics and I tested the PIA with a logic probe and manually jumpered the keyboard connector and I was able to type. This was both good and bad. It meant I didn't have to hunt down a long extinct PIA, but it meant I was going to have to repair a membrane keyboard.
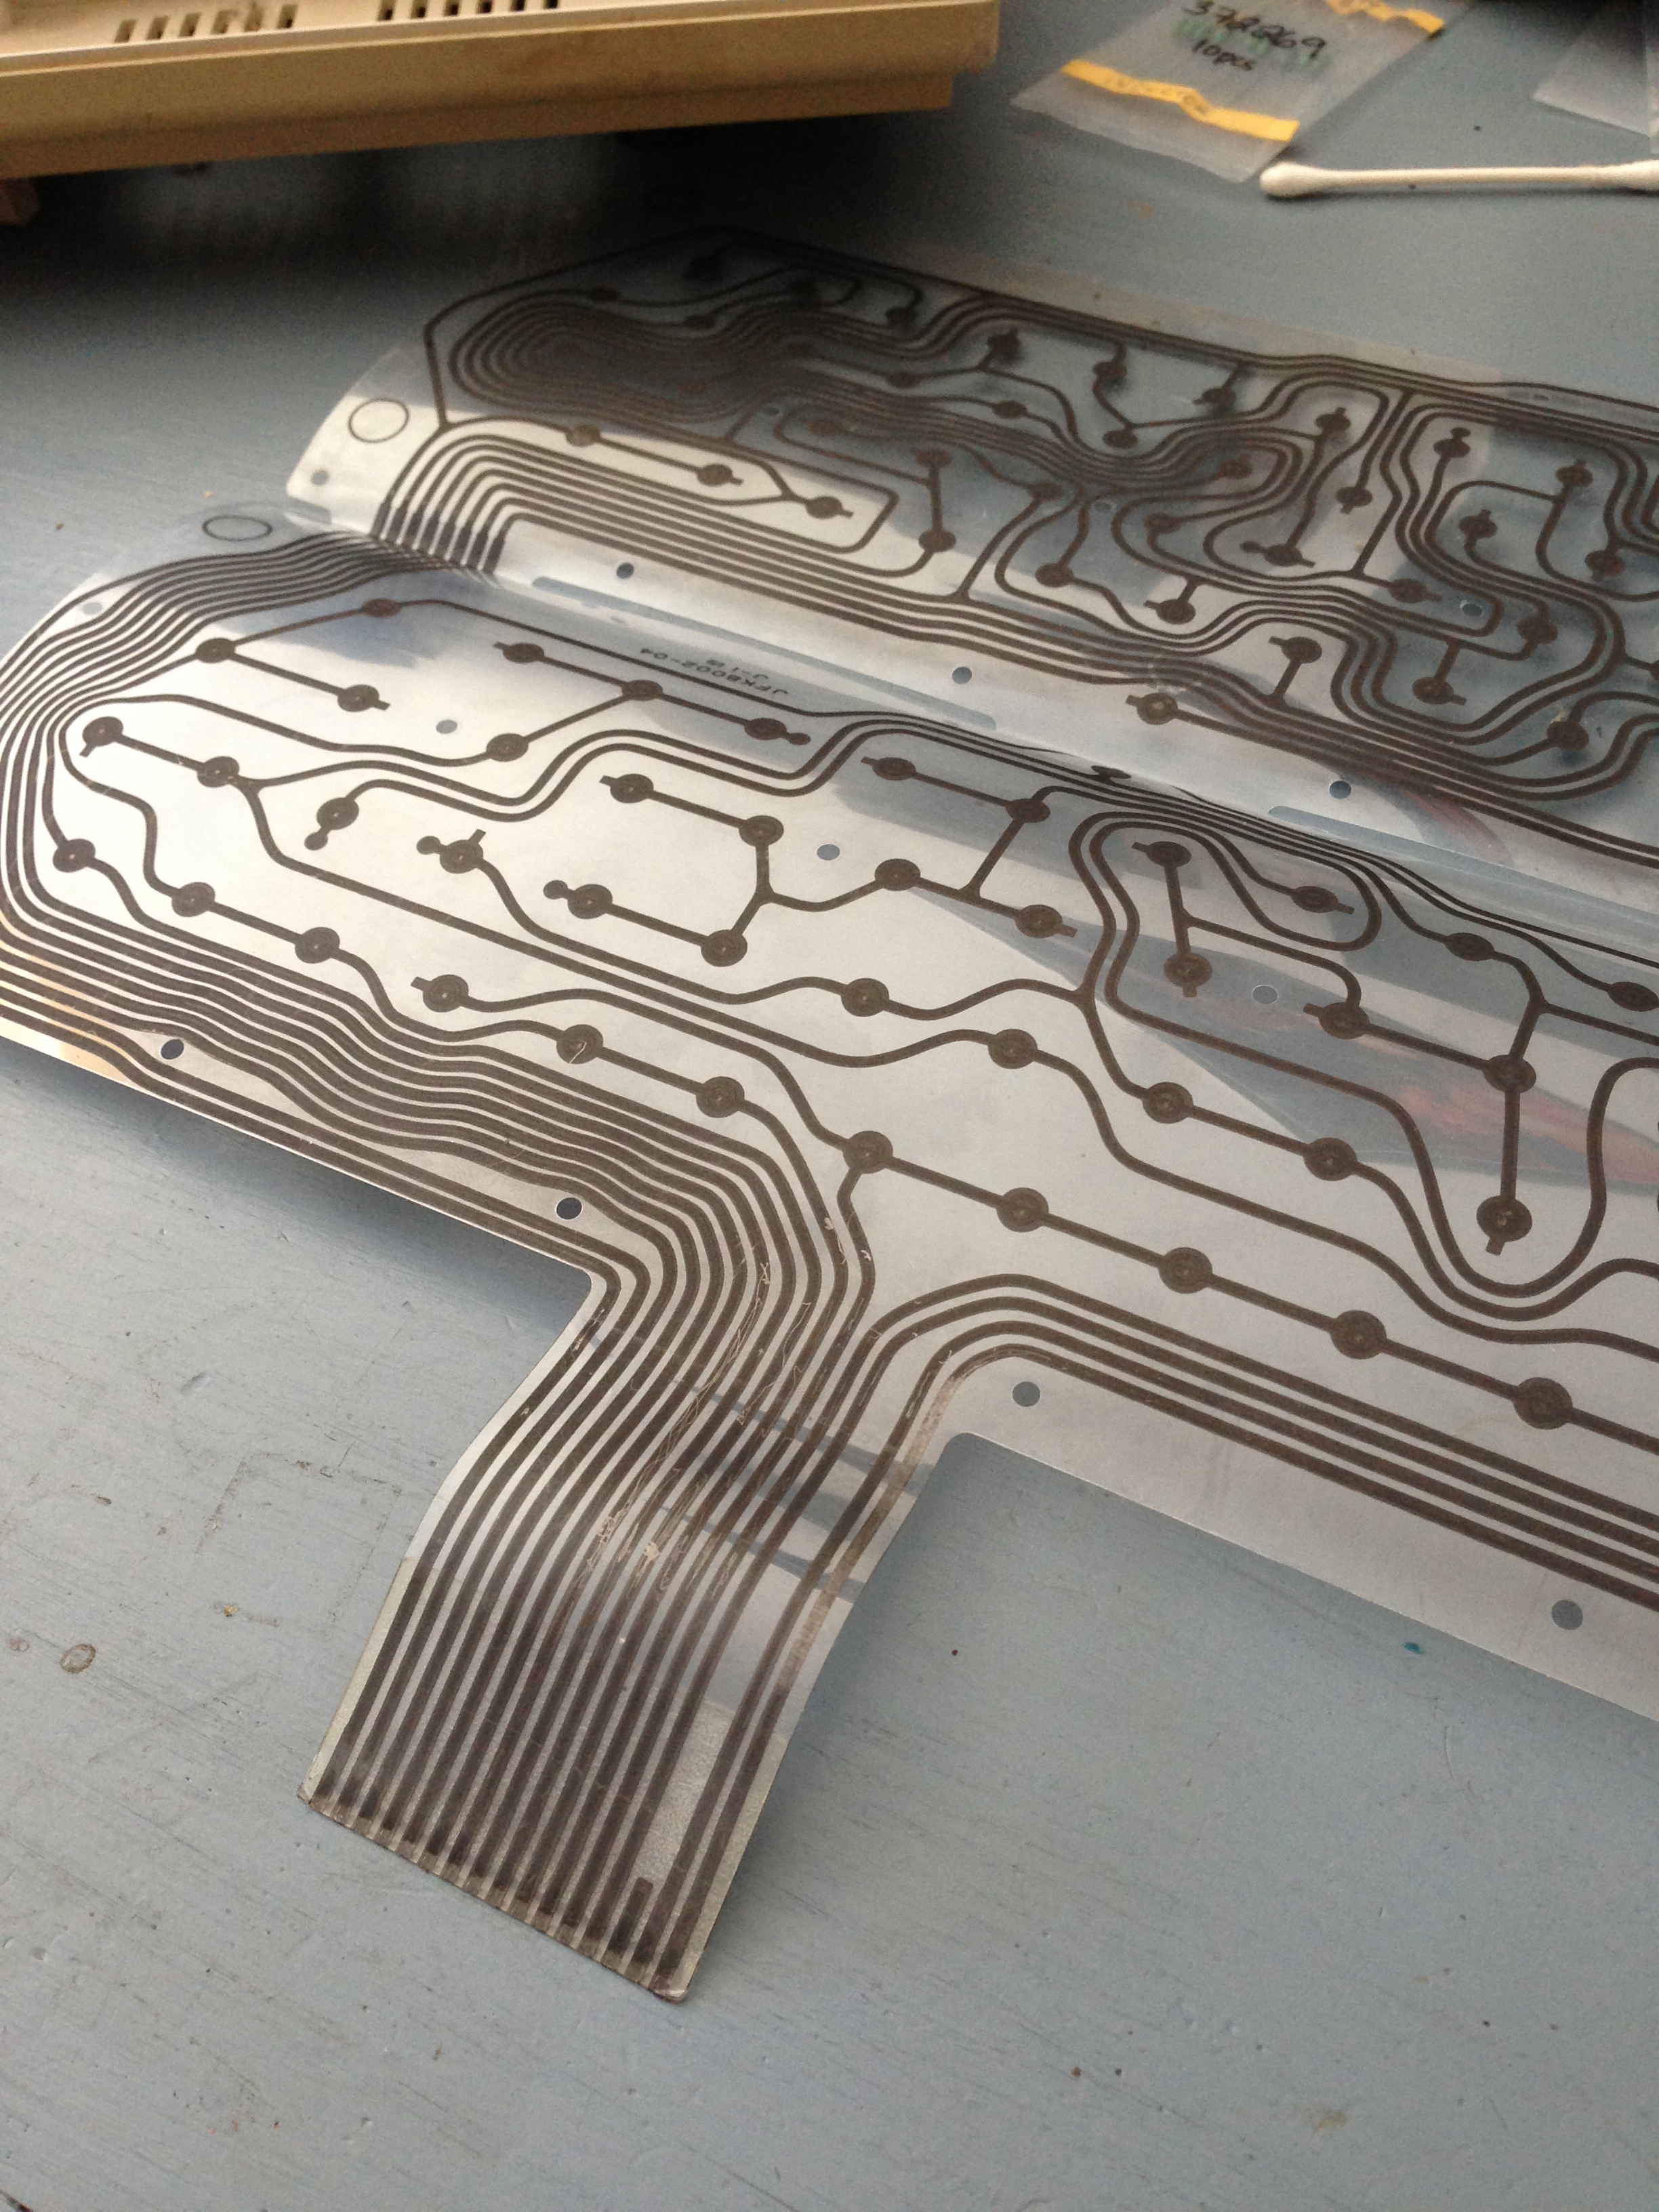 I took apart the keyboard to see how it was constructed and do some testing on the tail that plugs into the CoCo motherboard. Using my multimeter I was able to test the traces that had been silkscreened onto the plastic sheet. For the most part all the keypads seemed fine but a little dusty, so I gently wiped the traces clean. The tail had pretty much failed and even though I couldn't see any breaks in the traces, the meter showed they weren't working.
The best option I could think of to repair the keyboard was to use one of those silver conductive pens. If you've ever used one you know how difficult they are. The tip has to be pressed against the surface to push in the plug, and then you have to squeeze the pen pretty hard to get the ink to come out. I find it generally requires two hands and it's very hard to draw anything reasonably accurately.
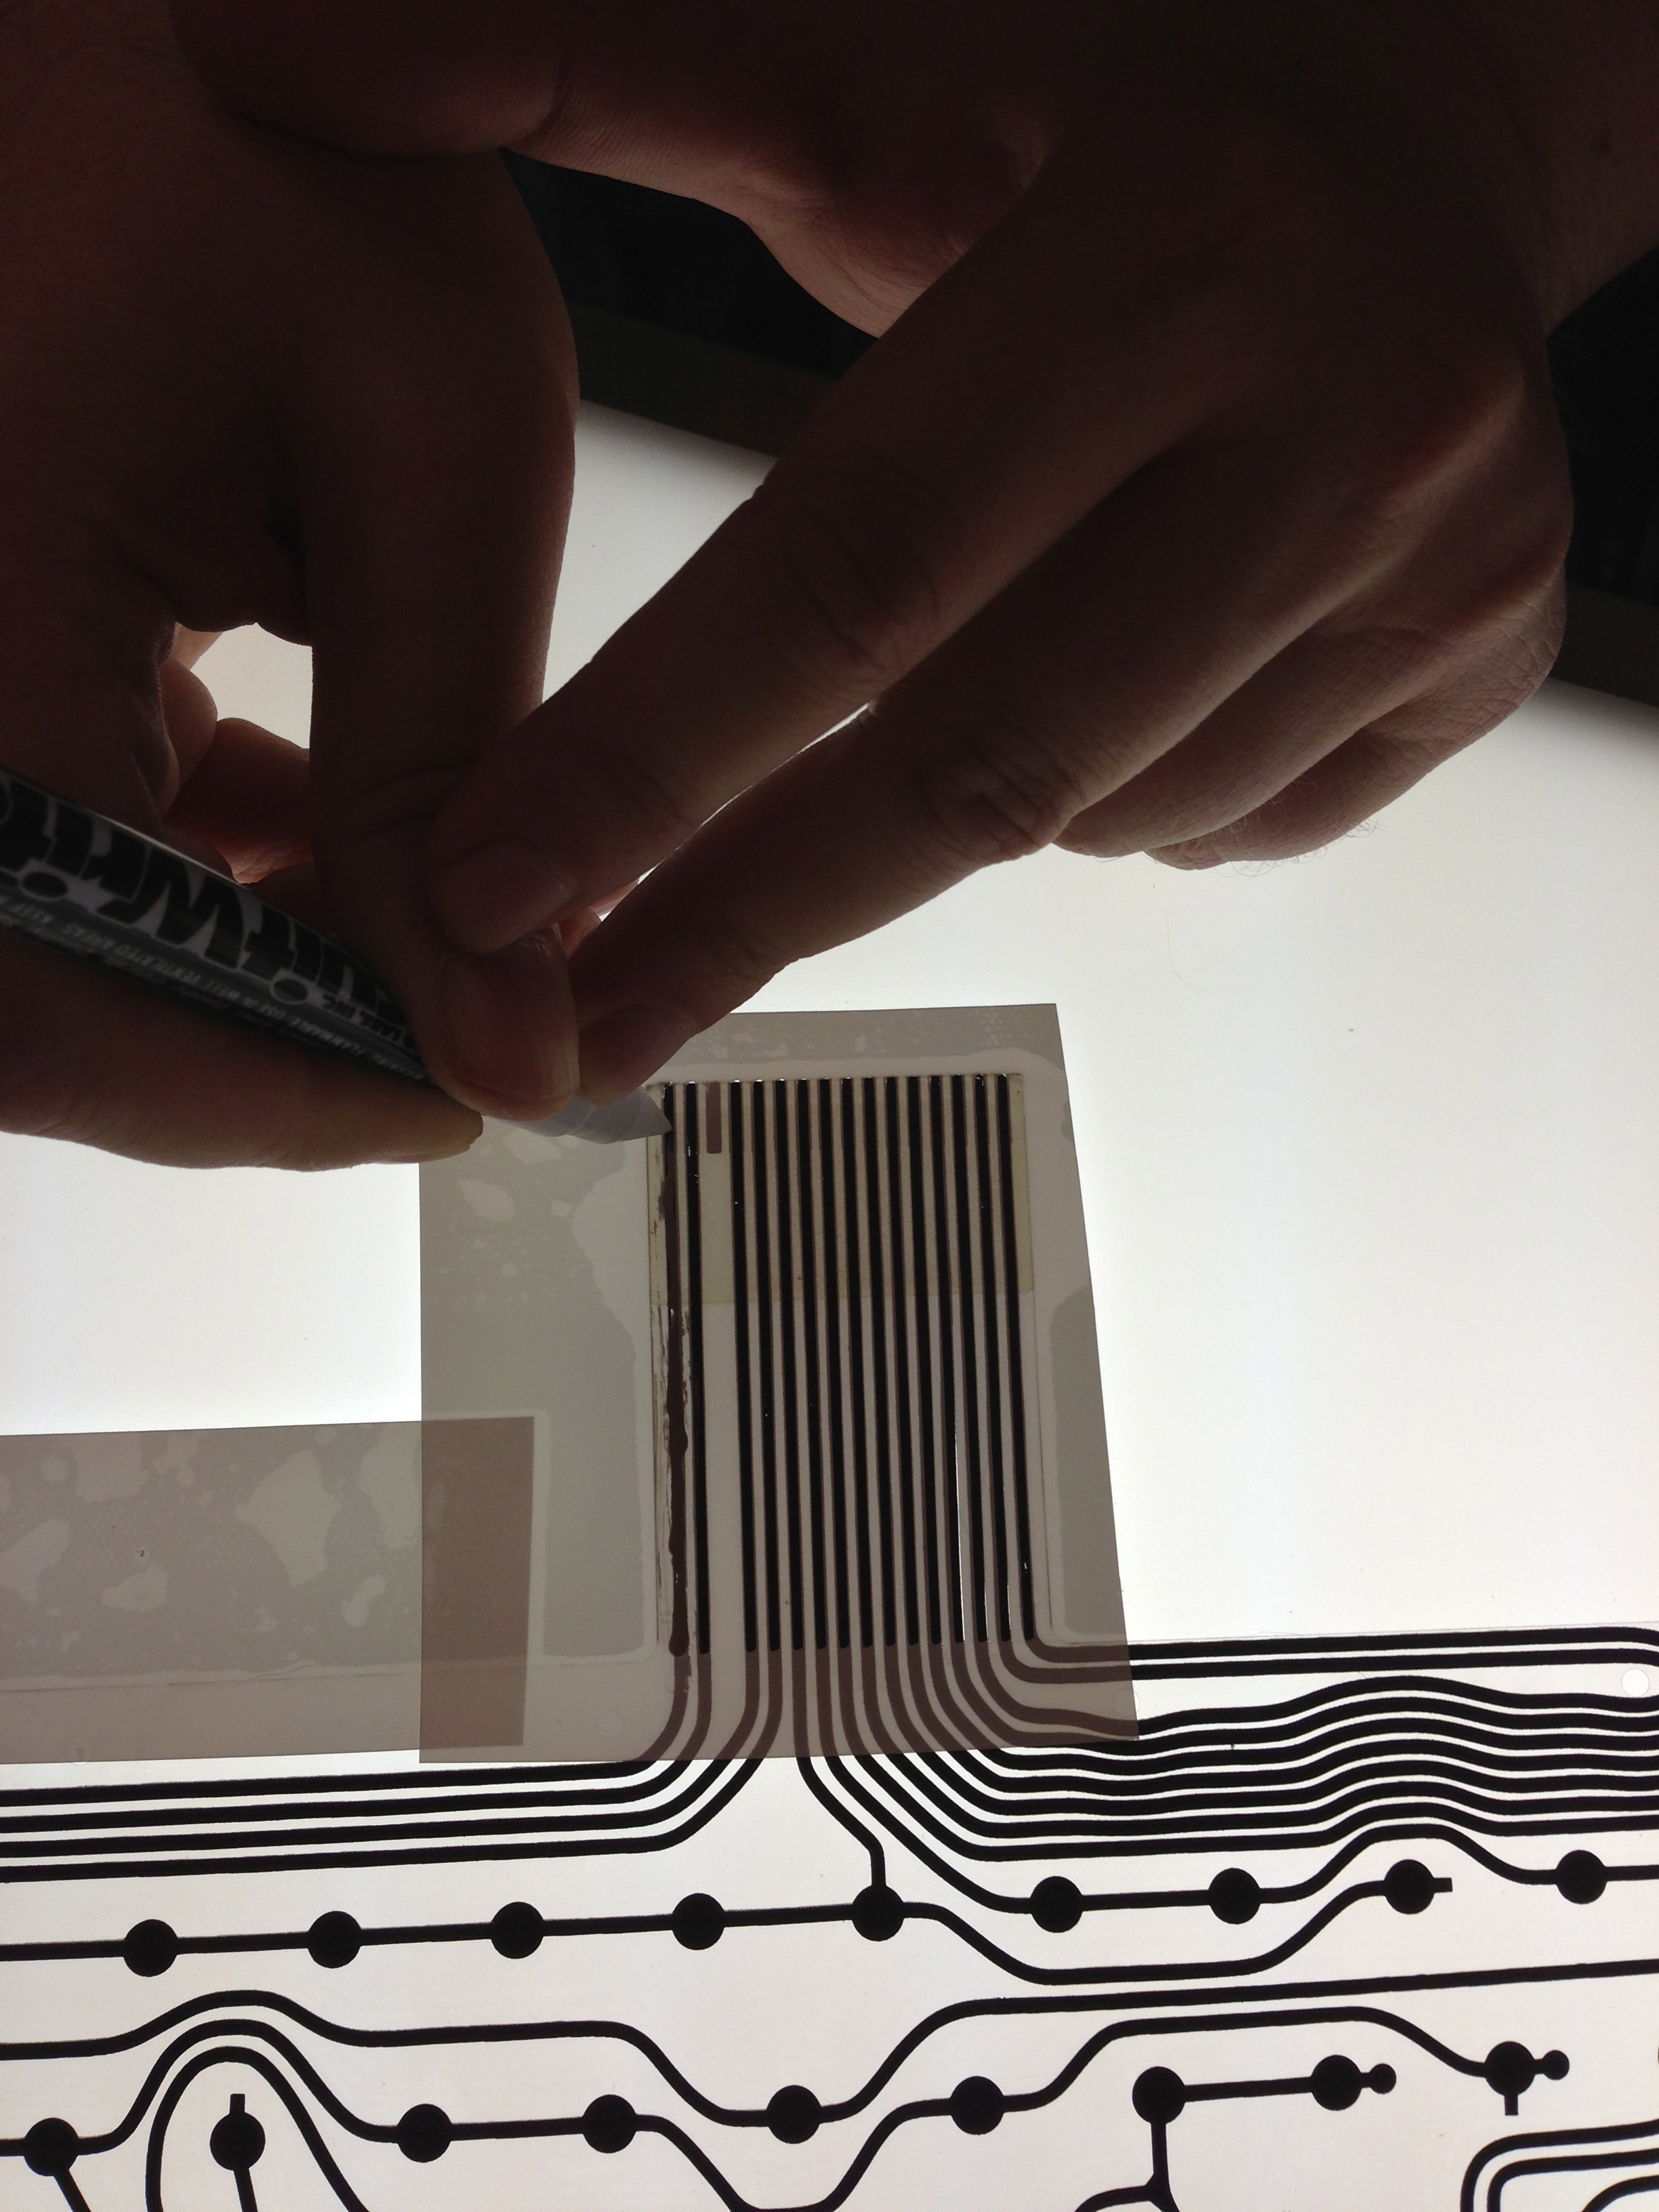 Making a stencil seemed like a good way to deal with the mess that the conductive ink makes. I quickly whipped up a stencil and printed it out on paper and fine tuned the dimensions by holding it against the membrane. After I got it right I cut it out on a piece of scrap vinyl and applied it to the membrane. I then applied the ink and didn't worry too much about it making a mess all over the stencil.
Since I was making this up as I went, I thought maybe I should squeegee the excess ink off like when making a real silk-screen. Not the best idea since the solvent in the conductive ink actually removes the original trace on the membrane, and by wiping it I ended up with bare spots. I did some quick touch up and then removed the vinyl and left the whole thing to dry overnight.
After testing it with a meter I found that many of the traces weren't working. Hooking it up to the computer proved that I still didn't have a working keyboard. Another vinyl stencil, another application of ink. This time I blotted up the excess ink then removed the stencil. Still not a good idea because the wet ink started bleeding over when the stencil was removed. But after it dried all the traces were conducting and so I used a sharp knife to cut just barely through the ink that was shorting traces together.
Unfortunately, I still didn't have a working keyboard. The area where the traces fold over and run across to the upper half was also damaged. This time I needed a fancier stencil with curves, so I put the membrane on the flatbed scanner and scanned it in, then drew over the top of it in the CAD program.
 For the third try I had finally decided maybe I should stop trying to remove the vinyl while the ink was wet. I had been removing it while it was wet because I was afraid that the ink might glue so well to the vinyl that it would chip or peel when I went to remove the vinyl. But after letting it dry overnight I had no problems with removing the vinyl and had the tidiest set of traces yet. There were a couple of other minor bad points past the hinge which I fixed by hand since the traces weren't packed tightly.
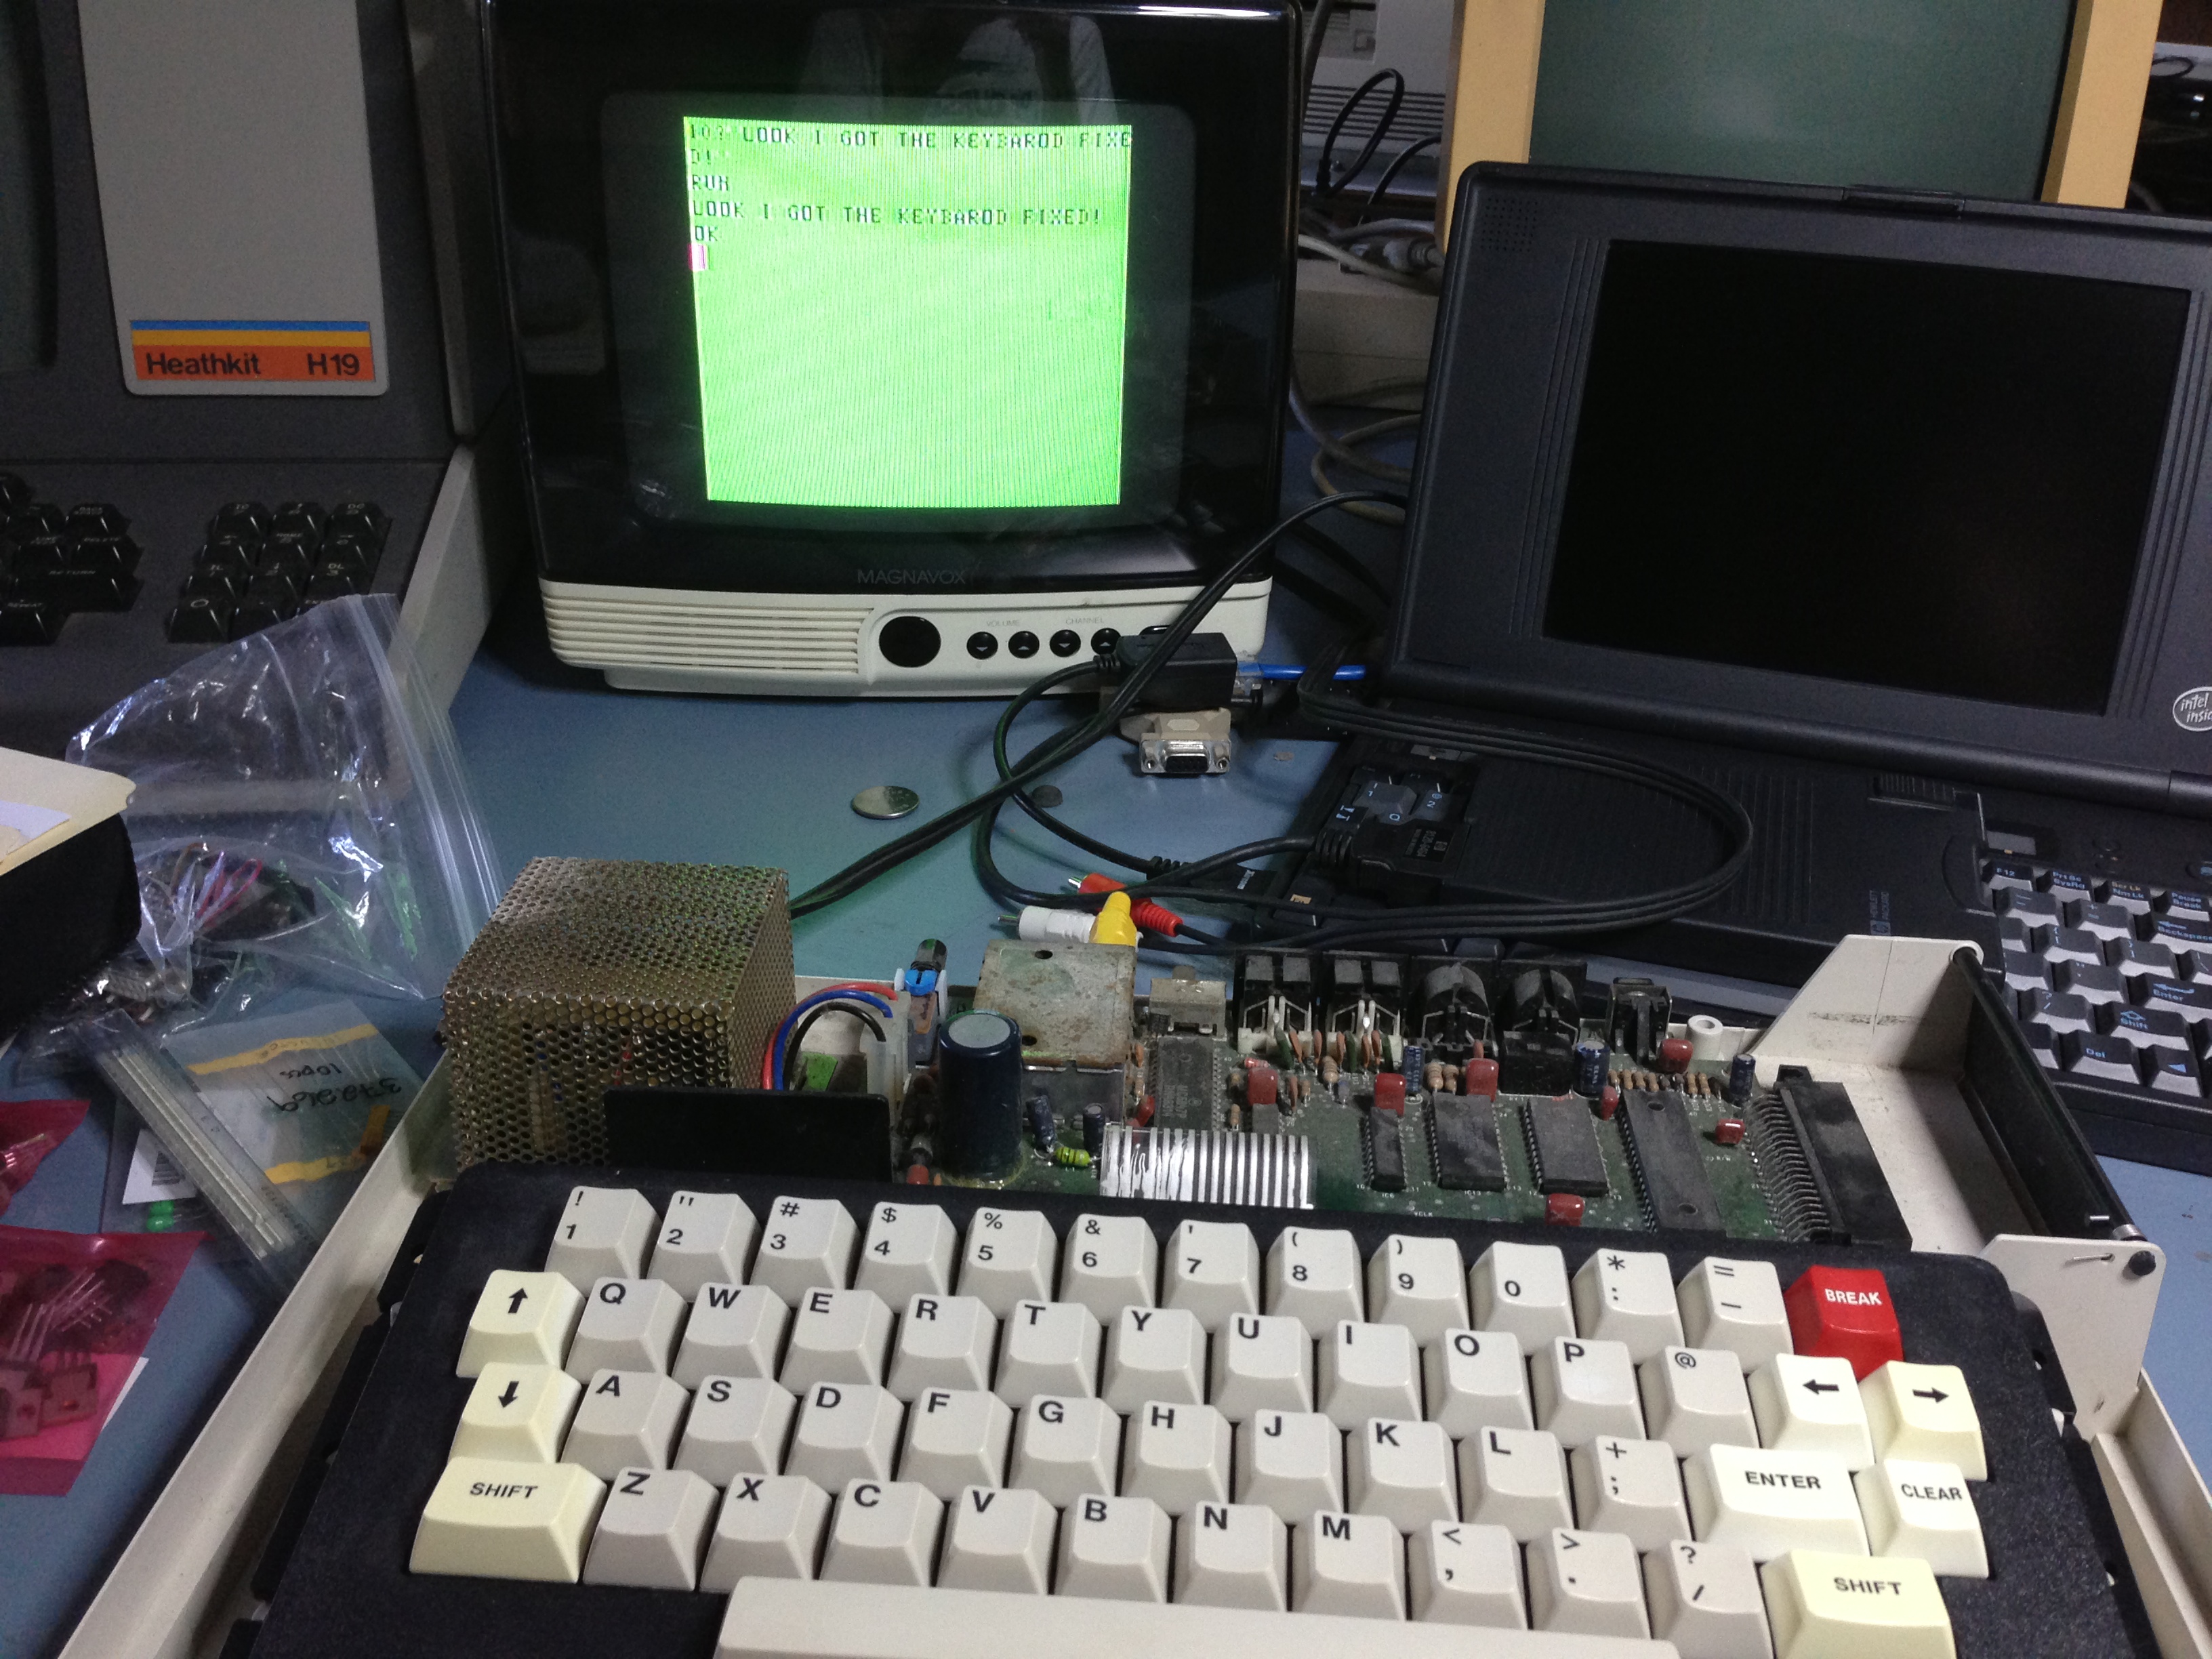 After reassembling the keyboard and connecting it back up to the CoCo, it finally works! I was able to type in and run a short program. This was a definite success!
The next thing to repair is going to be the cracked membrane on the ZX81. I'm going to use similar techniques but I'm going to leave the vinyl in place so that it adds a little extra strength to the brittle ribbon.


