

Doing Linux Sysadmin Tasks From Your 8-Bitter
You decided to "work" from home and you're having a blast killing aliens, rescuing princesses, and finding buried treasure. And of course right while you're in the middle of solving the world's hardest puzzle an urgent call comes in from the office. Of course that means you’re going have to get up and go sit at another computer to ssh in and see what's going on. Wouldn’t it be nice if you didn’t have to do that?
Using a combination of tcpser and telnetd, it’s possible to set things up so you can ssh out from your retro computer. You also don’t need to open a telnet server up for the entire world to access. The telnet service will only listen on localhost which means that the plain text transmissions will be between you and yourself and won't ever go out across the network.
First off, get my version of tcpser which supports connecting to telnet servers, handles parity detection, and is capable of a full 8-bit data path when using 8N1.
Next you need to install xinetd and telnetd:
sudo apt-get install xinetd telnetd
Edit or create /etc/xinetd.d/telnetd and make it look like this:
service telnet
{
    flags  = REUSE
    socket_type = stream
    wait  = no
    user  = root
    server  = /usr/sbin/in.telnetd
    log_on_failure += USERID
    disable  = no
    bind  = 127.0.0.1
}
Restart xinetd:
sudo service xinetd restart
Finally, telnet localhost. You’ll see that you're able to login. Now from another computer on your LAN try to telnet to the IP address of your Raspberry Pi. You’ll see that you get a connection refused, preventing incoming telnet access from your LAN or from the outside world.
Next thing is to start up tcpser like you would normally, but instead of calling a BBS, you will do
ATDTlocalhost
and login on your Raspberry Pi. No need to mess with getty or inittab to enable logging in.
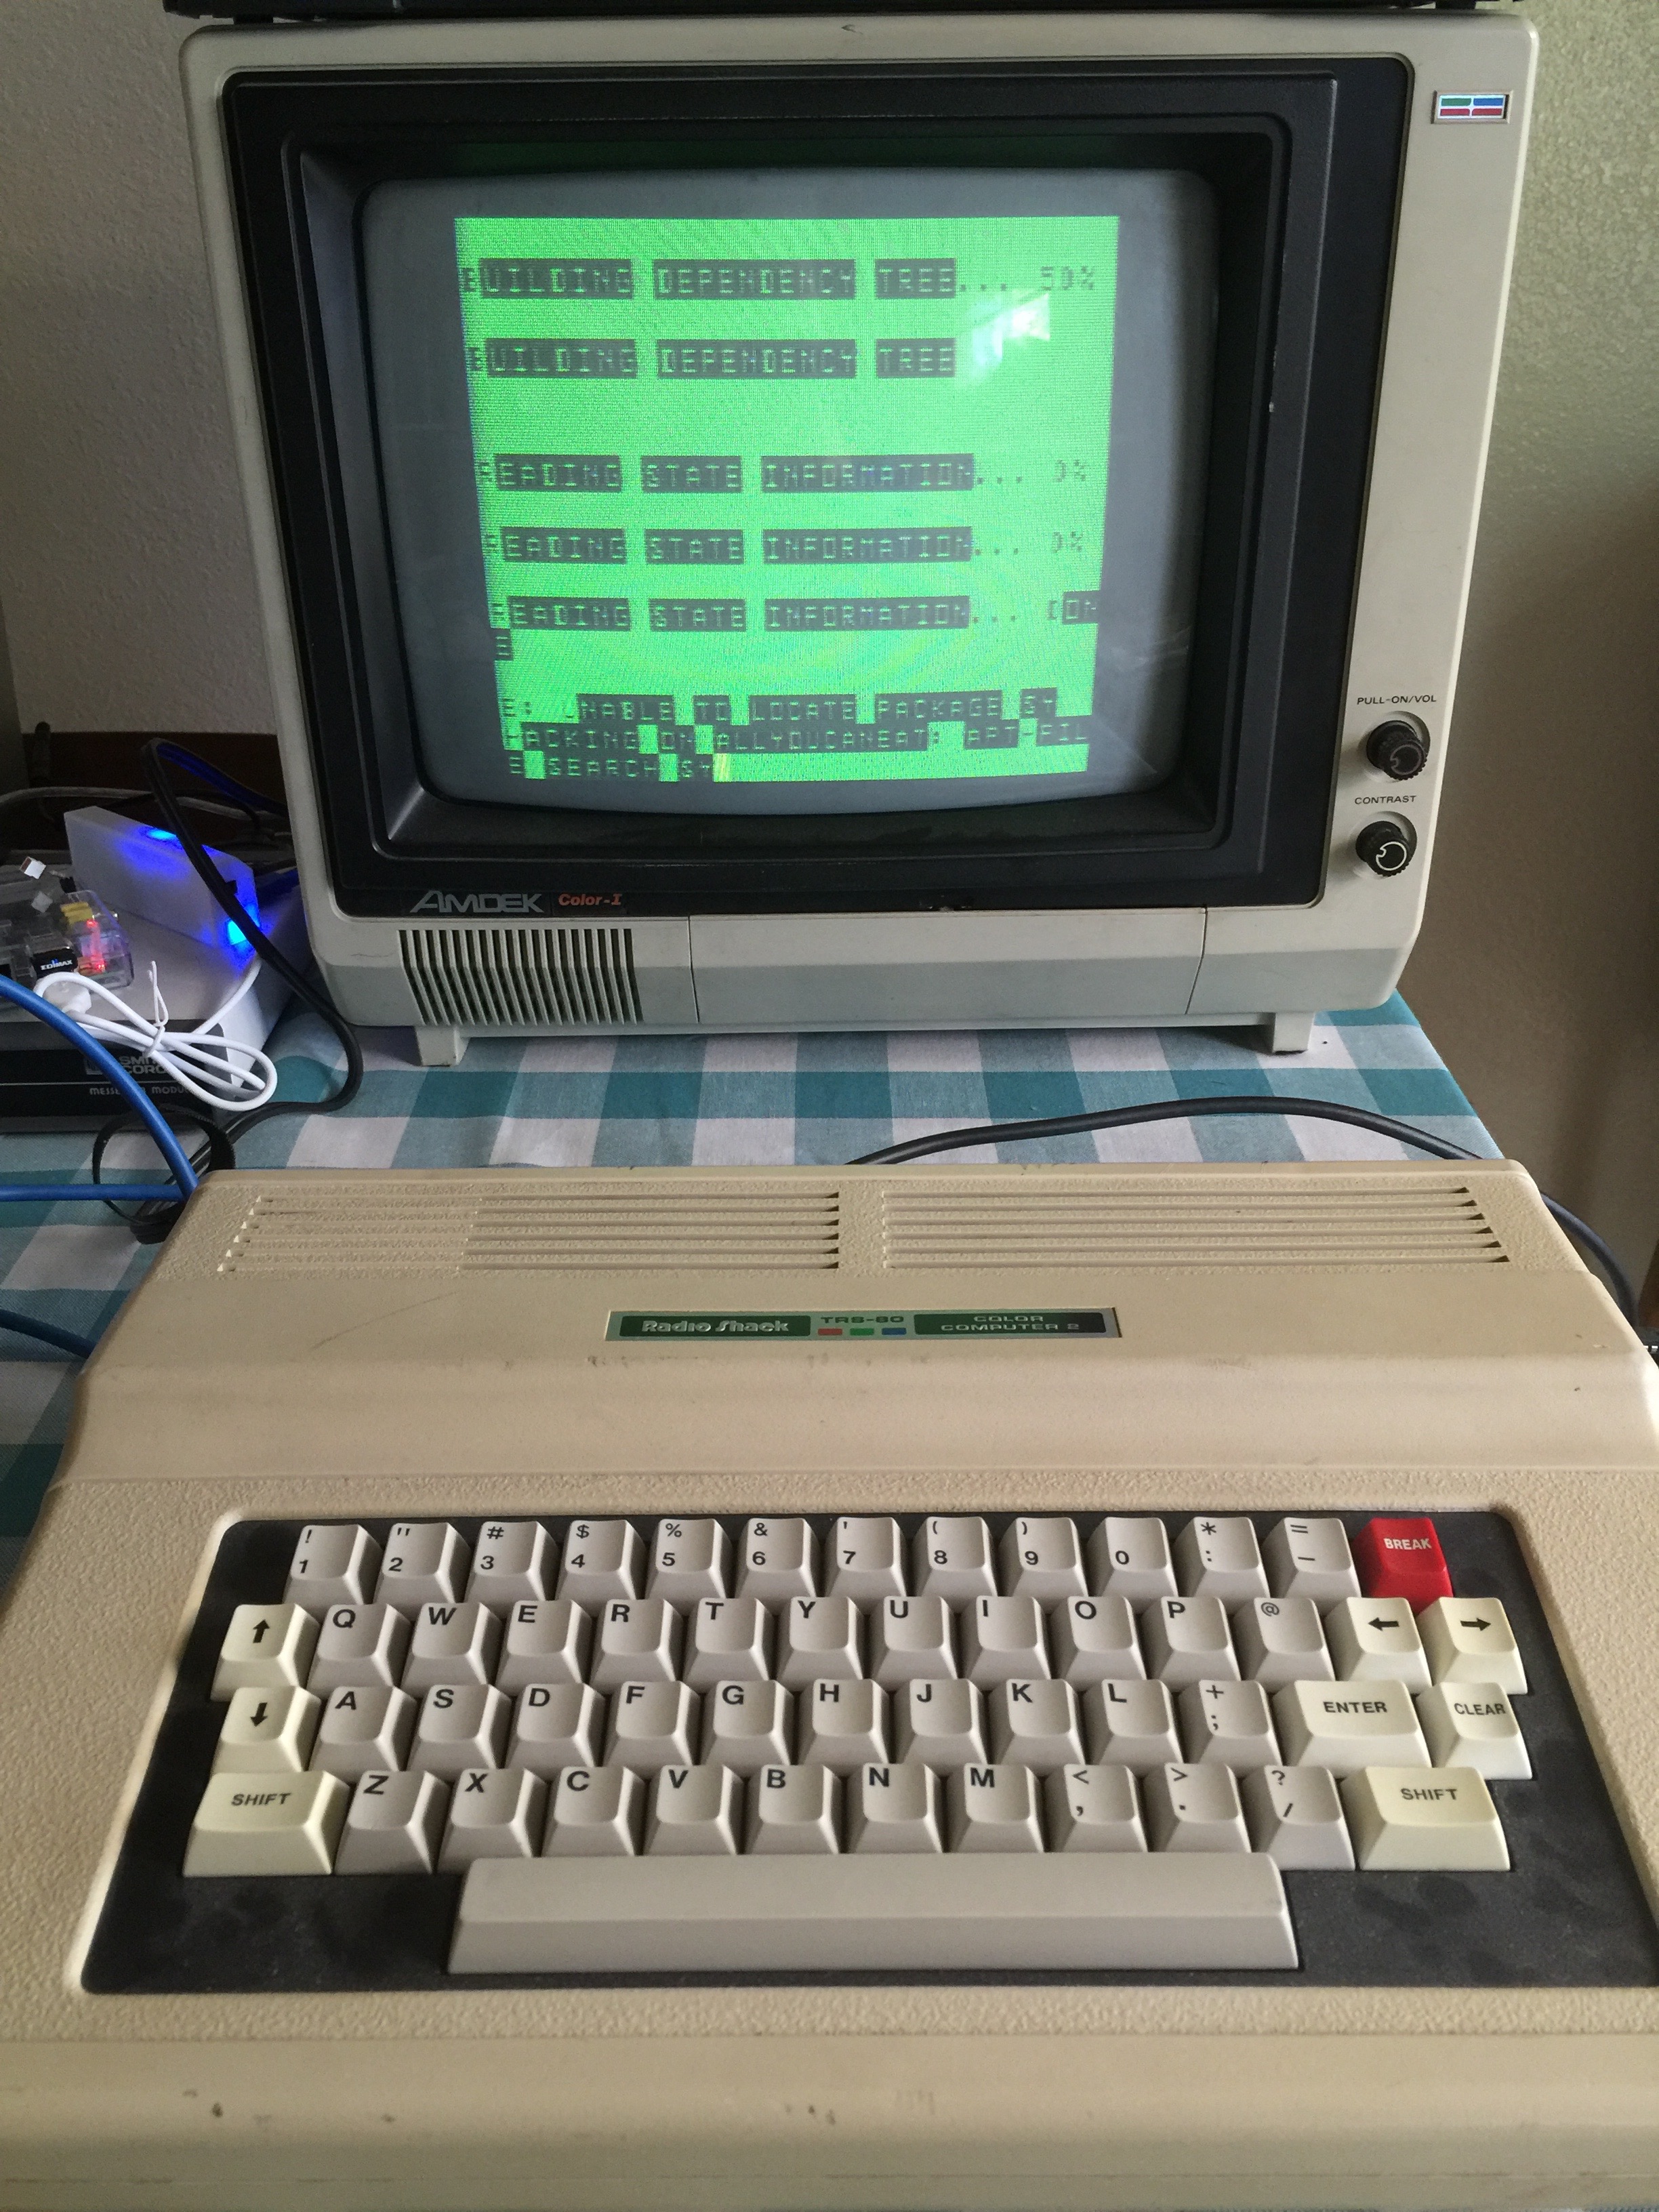 Linux sysadmin from my TRS-80 CoCo2
If you're going to run any programs that need to use terminal cursor control, such as emacs, vi, lynx, w3m, top, etc. you're going to require software running on your 8-bitter that supports terminal emulation. VT-52 emulation is pretty common in older programs. In some cases you may only have really obsolete things like Hazeltine or ADM-3A emulation. And often even if you have a program that has ANSI or VT-100 emulation, it's often incomplete and doesn't work well. The solution though is to add another layer of terminal emulation using screen! I've found that screen is better able to deal with broken VT-52 and VT-100 emulation, and the other benefit is that processes you start from within your screen session will see a VT-100 terminal. Using screen will also get you other advantages like copy & paste and a scrollback buffer.
Now you can remotely resolve the situation at the office without having to leave your chair and then get back to "working" from home!
 Recent Toots
+1 Posted by C. Thorpe • Jun.20.2016 at 10.24 • Reply
Is there an already-compiled tcpser for the source at github available somewhere?
+1 Posted by Rick • Oct.05.2019 at 14.47 • Reply
I already have TCPSER installed and working following the guide at http://podsix.org/articles/pimodem/ When I try to add this I cannot telnet localhost (unable to connect to remote host : Connection refused) or connect via the ATDTlocalhost (no carrier error) Any ideas please!
+1 Posted by FozzTexx • Oct.05.2019 at 15.13 • Reply
If you're getting connection refused then the telnet daemon isn't running. Recheck your work and make sure you followed all the instructions above for setting up the telnet daemon. Also make sure you're using the tcpser from git and not his zipped copy, there have been many fixes since he made that archive.
+1 Posted by Rick • Oct.05.2019 at 15.32 • Reply
Thanks for quick reply! I have just updated to your git version, still getting the same error. Double checked everything as above, all correct. I followed the complete linked guide above and set up PPP over telnet - could this possibly be causing issues?
+1 Posted by FozzTexx • Oct.05.2019 at 15.39 • Reply
I don't know what you're doing with PPP. If you type
telnet localhoston the computer that you installed telnetd on and it says connection refused then the telnet daemon isn't running. Either you didn't install the /etc/xinet.d/telnetd correctly, you didn't restart xinetd, or you're using some other distro that doesn't use xinetd.+1 Posted by Rick • Oct.05.2019 at 15.59 • Reply
Sorted thanks. There is a slight error in your writeup - you have the file to be created as /etc/xinet.d/telnetd when it should be /etc/xinetd.d/telnetd. I should have figured it out really! All working well, thanks very much for both writing the guide and your help.
+1 Posted by FozzTexx • Oct.05.2019 at 20.46 • Reply
Well that was certainly dumb of me. I guess that shows you're the first person to even try to follow my lousy instructions. Thanks for the correction!